

I know I have not posted anything in awhile and I apologize, so here is a really big post to make up for it.
I thought it would be neat to document my process of making pots and naturally I picked a project with a lot of steps.

Step one: A nice wheel thrown bowl. I enjoy step one, but I find it is what I do the least here in grad school.

Step two: Trimming of the bowl. This bowl has no foot, you will find out why if you continue reading.

Step three: Cutting out the windows. This takes a lot of time and has a process of its own, but I figure if I went into every detail you probable wouldn’t read past step one.

Step four: Cleaning of the sharp window edge. No one likes sharp window edges.

Step five: Adding of the stamped slabs. This also takes forever and has a number of steps that would bore anyone but me to death or at least tears. But we have our prototype!

Step six: Claying up the prototype to make the mold. Making molds is hard work, but I enjoy it because it has a lot of steps.

Step six A: pouring the plaster.

And we have a mold.

Step seven: Casting, I find this step to be very rewarding. I get to see all my work start to payoff.
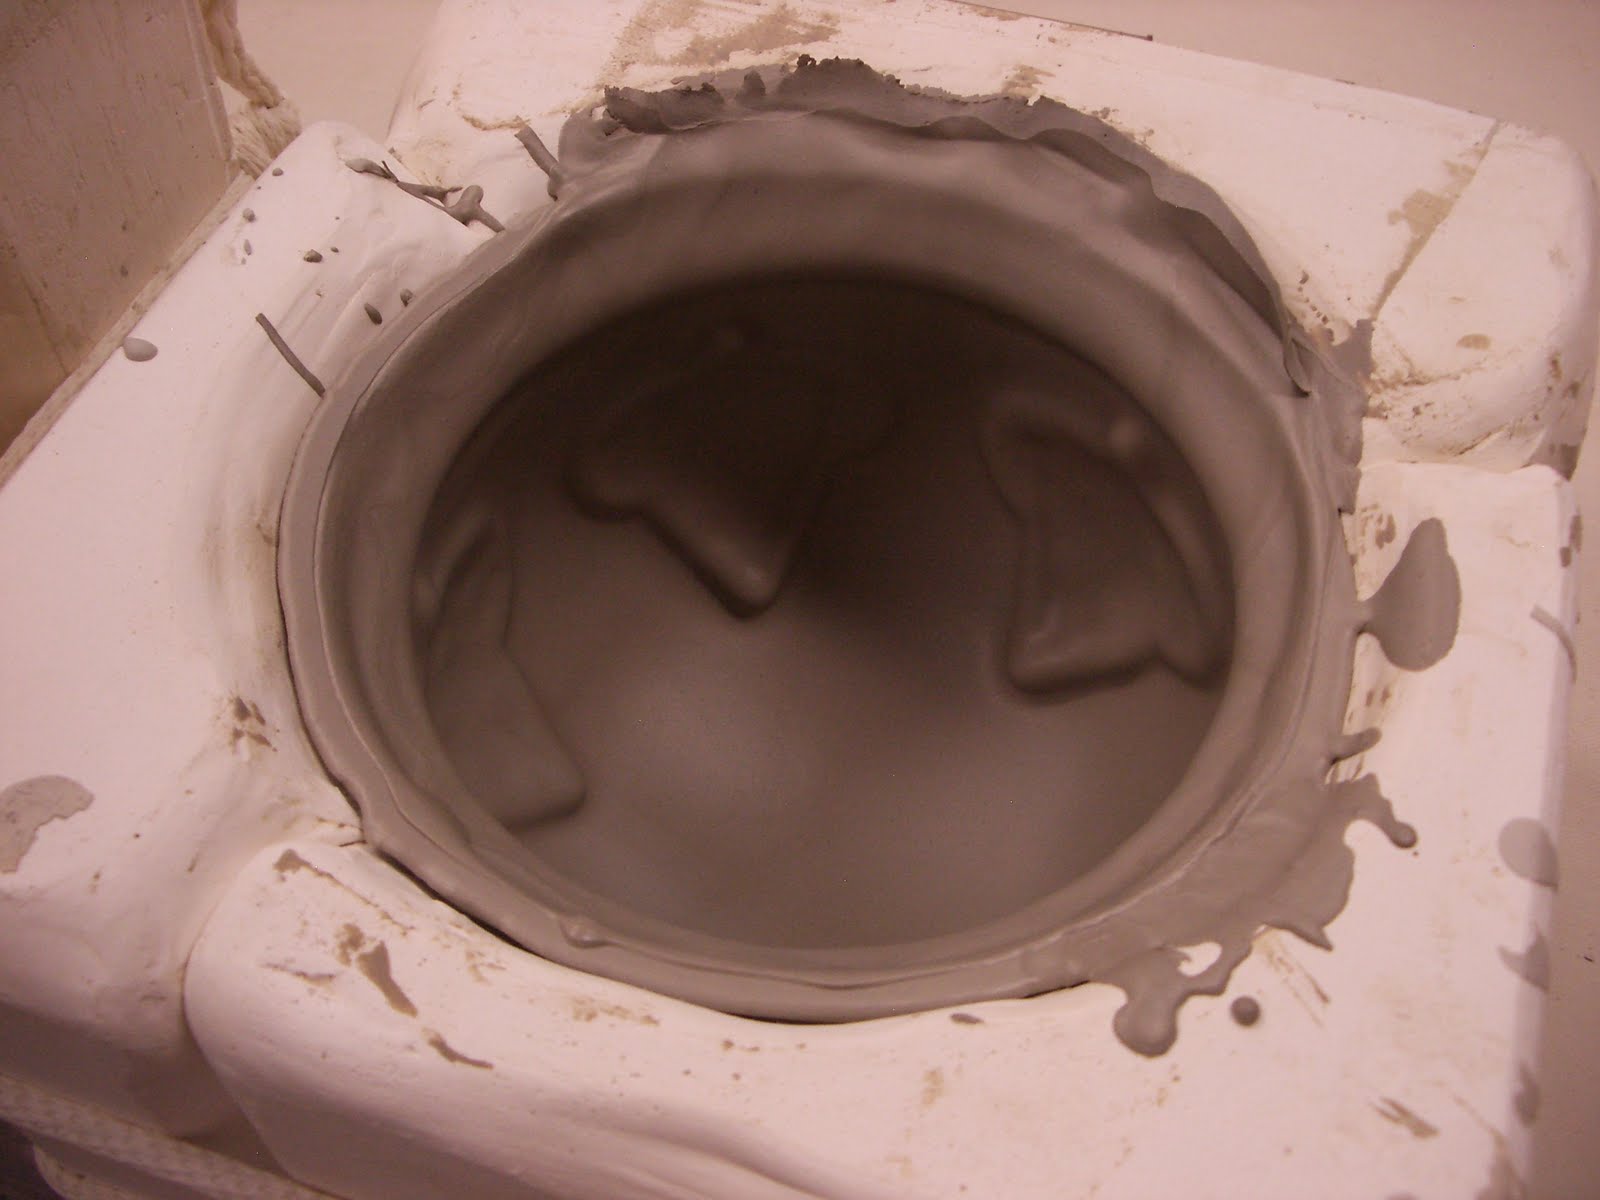
Step seven A: pouring out the excess slip. This really is not a step but I had I picture of it for some reason. See how nice the inside looks!

The first successful cast

Step eight: The clean up. With a little bit of cleaning we are back to step five.

Step nine: Adding the foot. I add the foot after because I want a nice inside plane.

Step ten: finished bowl. Not actually a step, but ten steps sound better than nine.


